
I believe cooking and eating well should not be complicated. I have had a few friends who commented on how ‘diligent’ I am at making meals or how ‘good’ I am at cooking. Let me burst your bubble; I am not. I am one of the laziest cook, but I am also picky at eating. So from now on I will share my ‘cooking hacks’ with all of you! It is how I survive university as well as working and being a mother at the same time.
This delicious chicken only need FOUR (4; yes I am not joking) ingredients. No oil is required! The prep time is literally 3 minutes; then pop into your oven / air fryer. Let’s start!
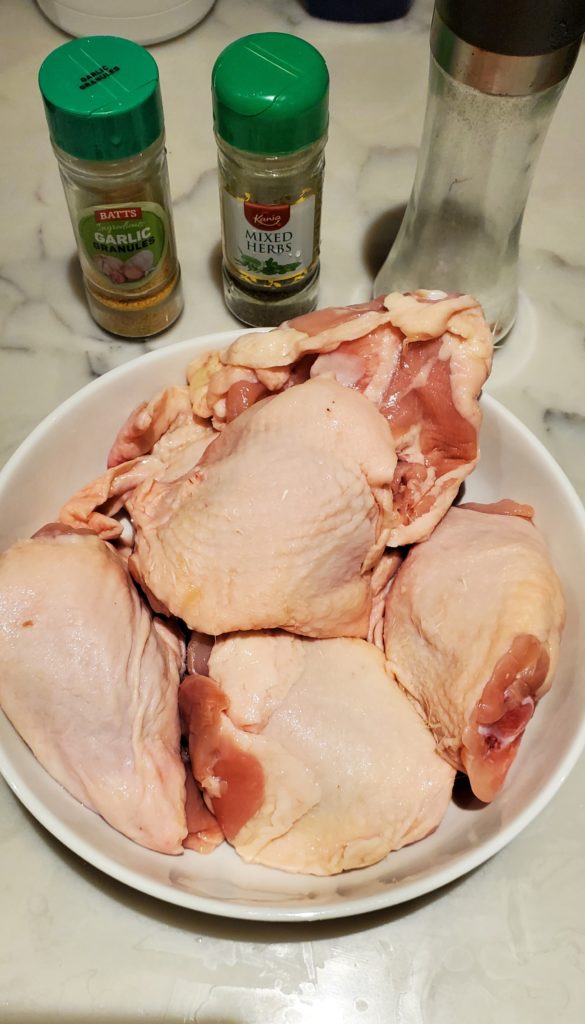
Ingredients
- chicken
- salt
- garlic powder
- mixed herbs
STEP 1
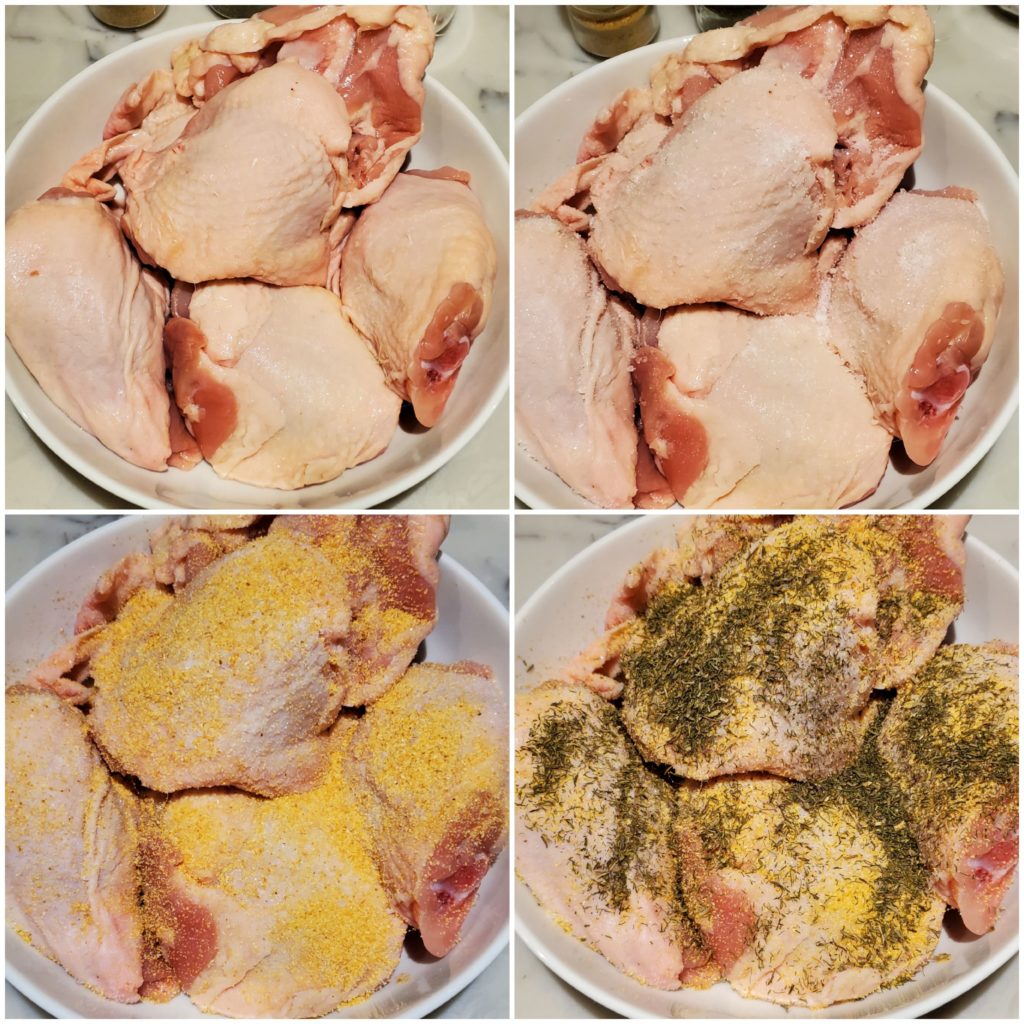
Sprinkle salt, garlic powder and mixed herbs onto chicken.
Rub in seasoning onto each chicken evenly.
Step 2
I’m using an air fryer to cook this chicken. Let me tell you the wonders of air fryer. It works exactly like an oven; except it’s smaller and faster. It also has a compartment to collect all the oil dripping from the chicken. You can cook literally ANYTHING using an air fryer.
If you’re using an oven however, preheat the oven to 180C on fan mode. Using oven, the oild dripping from the chicken would collect on the tray.
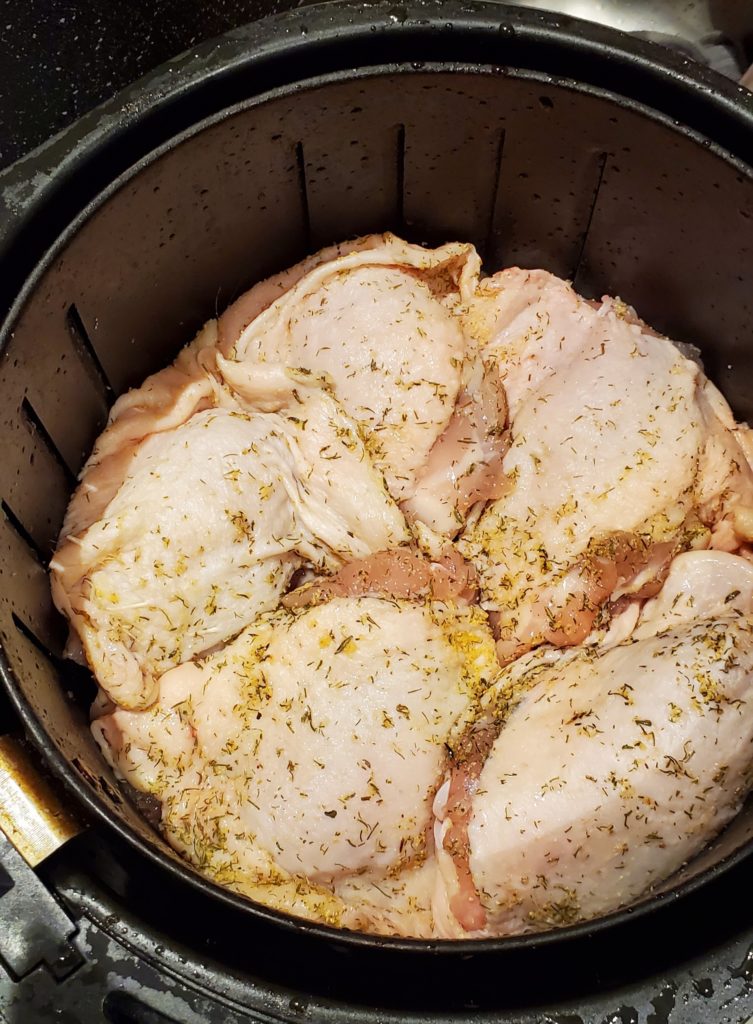
Set the air fryer to 180C for 30 minutes. While using the air fryer, it is best that no meat overlaps so that it would be crispy and cook evenly. Unfortunately I have more chicken pieces than expected. But it’s okay, because the meat does shrink and we can rearrange for final cooking.
Step 3
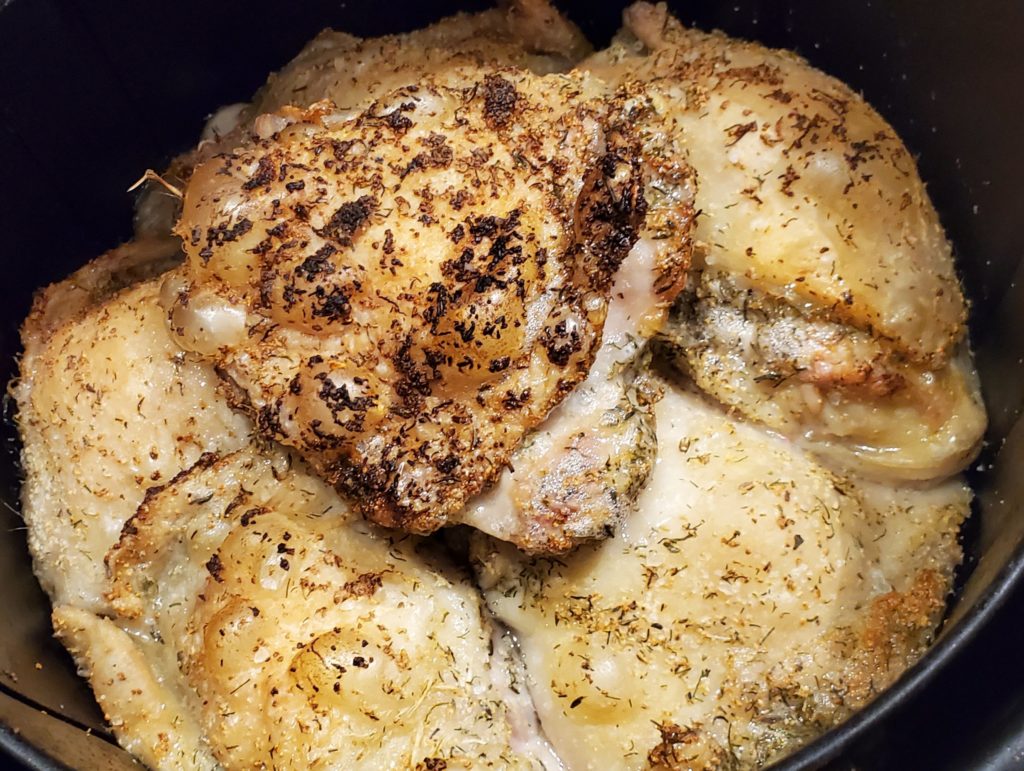
After 20 minutes, I come to check on the chicken. It’s mostly done, except the bottom. And as expected, due to overlapping, some chickens aren’t crispy on the top. But that’s okay, we will rearrange the chicken now that they have shrunk. The trick is to rearrange the chicken SIDE WAYS, so maximum surface area of each chicken pieces is exposed.
Optional step 4
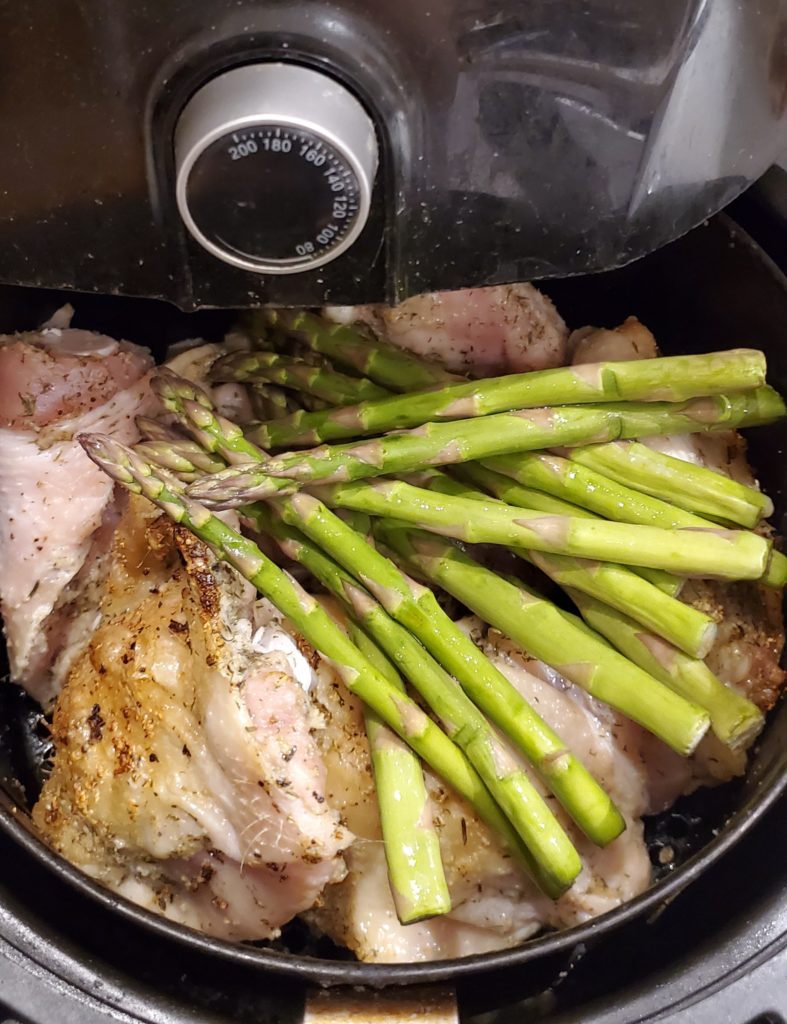
I love vegetables. I just love them so much! To make my life easy, I just toss some asparagus into the air fryer for the remaining time. You can also use broccoli. If you’re using root vegetables such as carrot however, I would suggest you putting it in much earlier- perhaps 10 minutes into cooking.
Step 5
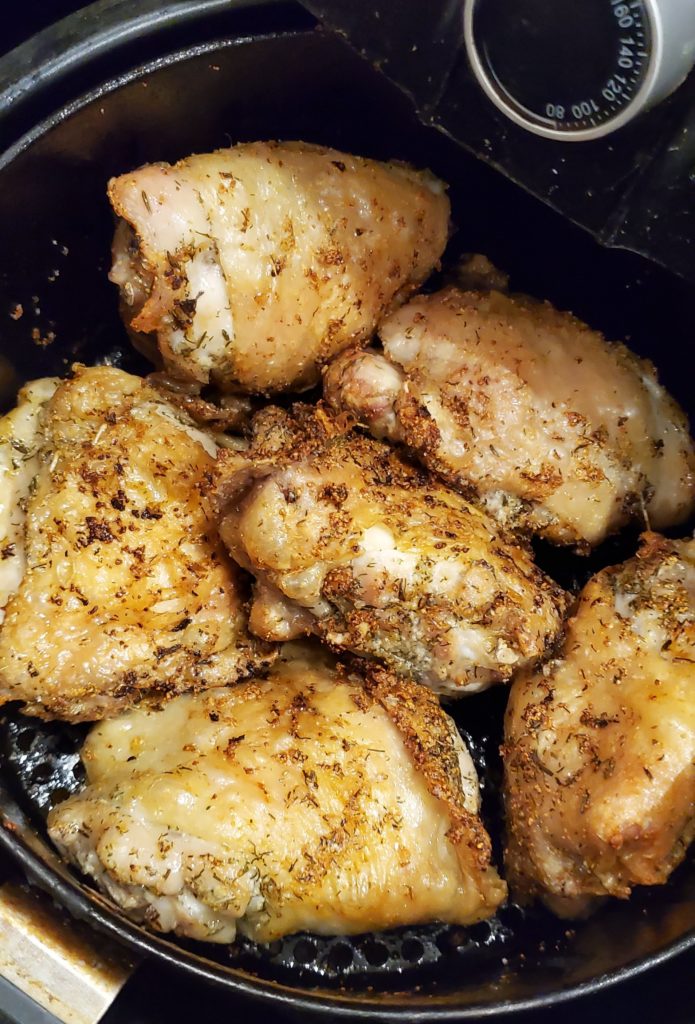
After 30 minutes, the air fryer should DING! for you. Check if all the chicken pieces are fully cooked by poking it with a chopstick. If there’s no blood, it’s done. If it’s still not done (such as in my case) I add in another 5 minutes.
Now that the chicken is done, it’s serving time!!!! I arrange the vegetable at the bottom of the place, as the chicken will start leaking juice as it cools; so the vegetable can soak in the natural chicken juice. (If you remember, we did not season the vegetable and we don’t have to!)
And just to let you all see how much oil has been removed by the air fryer, here’s a photo of the bottom component;
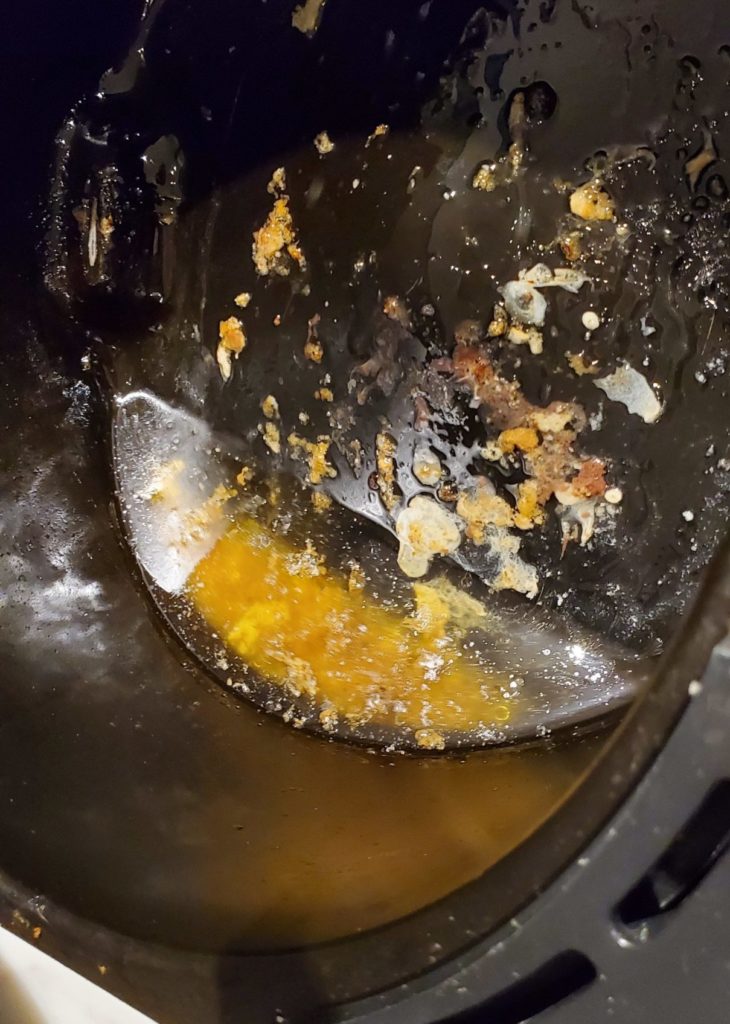
Of course, if you’re not on diet, you can use this oil to fry rice and etc as it would taste heavenly; but the point of air fryer is to remove such excess oil!.
P/S: Mojujuju and Mr. Monday LOVES this chicken. Especially Mr. Monday, he really isn’t a big meat eater and prefers to eat more vegetables than meat. However whenever I make this simple chicken, he eats the entire thigh!
Awesome. Simply delicious. Hugs & kisses😍🌹🥰❤️